SC Upgrade Spatial Conformetrics 1.0
Steps:
- Open current model in SCTP 1.1.100
- Export block model Fields and Mappings from original model
- Go to Reserves Configuration and click on save icon.
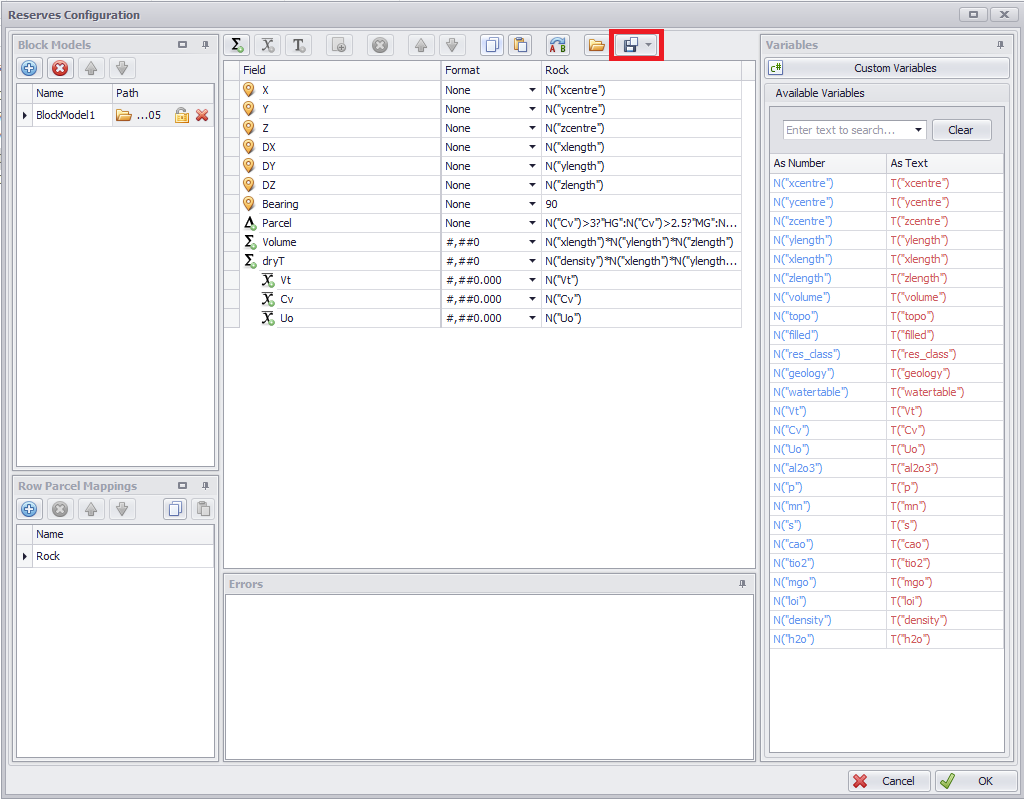
- Export blockmodel fields from the first blockmodel in the list. This will save to an "abmf" file.
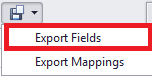
- For each blockmodel do the same for "Export Mappings". creating an "abmm" file for each blockmodel.
- Come out of Reserves Configuration by clicking the "Cancel" button.
- Go to Reserves Configuration and click on save icon.
- Export surfaces (optional)
- If you don't have the original surface files or created the surfaces using surface lab export the required surfaces from the layer panel on the conformance tab.
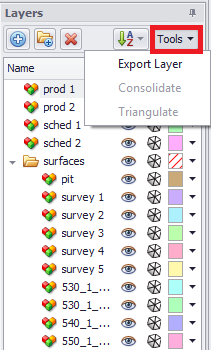
- If you don't have the original surface files or created the surfaces using surface lab export the required surfaces from the layer panel on the conformance tab.
- Export Polygons.
- Select and export each polygon to dxf, str, or arch_d.
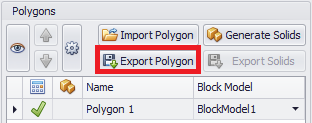
- Select and export each polygon to dxf, str, or arch_d.
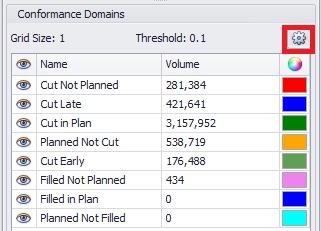
- Export Conformance Domains.
- Click on the configure icon in the Conformance Domains section.
- Export Domain Mapping by clicking on Save icon.
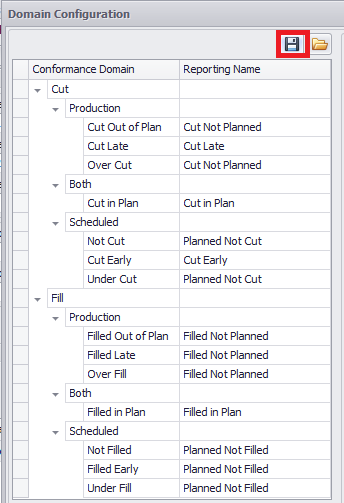
- This creates a "ctpdmf" file
- Click on the configure icon in the Conformance Domains section.
- Close the current model and open SCTP 2.0 and select File\New.
- Working your way through the Setup tab.
- In Settings.
- Select "Use Block Model"

- Click on "Play" icon.
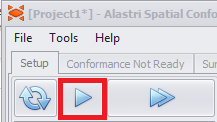
- Select "Use Block Model"
- In "Block Model" click on "New".

- Click on "Add" icon under Block Models to import each bintab/bmf/csv into new resmodel.

- Import field mapping "abmf" file by clicking on folder icon in icon bar.

- Now import each blockmodel's "abmm" file. Make sure have the correct blockmodel active when select the corresponding file.
- Once you have imported all the blockmodels and the corresponding 'abmm" parcel mapping file. Click on the "Generate" button and save the resmodel.
- Click on "Add" icon under Block Models to import each bintab/bmf/csv into new resmodel.
- Click the play button and in the Bench Templates Setup.
- Create the bench templates according to what your bench heights are for the pit areas to be reported.
- In the layers panel on the bench template tab you can import the surfaces for later use.
- Click the play button to step to Domain Mappings.
- Click on the folder icon and import your domain mapping file.
- Click the play button and step to Polygons.
- Click on the "Add" and as each mine area corresponding to each polygon be calculated
- Fill out the options section. You can drag and drop from the layer panel into the Production and Schedule surfaces sections

- Once you have created a Polygon definition for each reporting area (defined by a polygon) click on the play button.
- In the Polygon Geometry Setup.
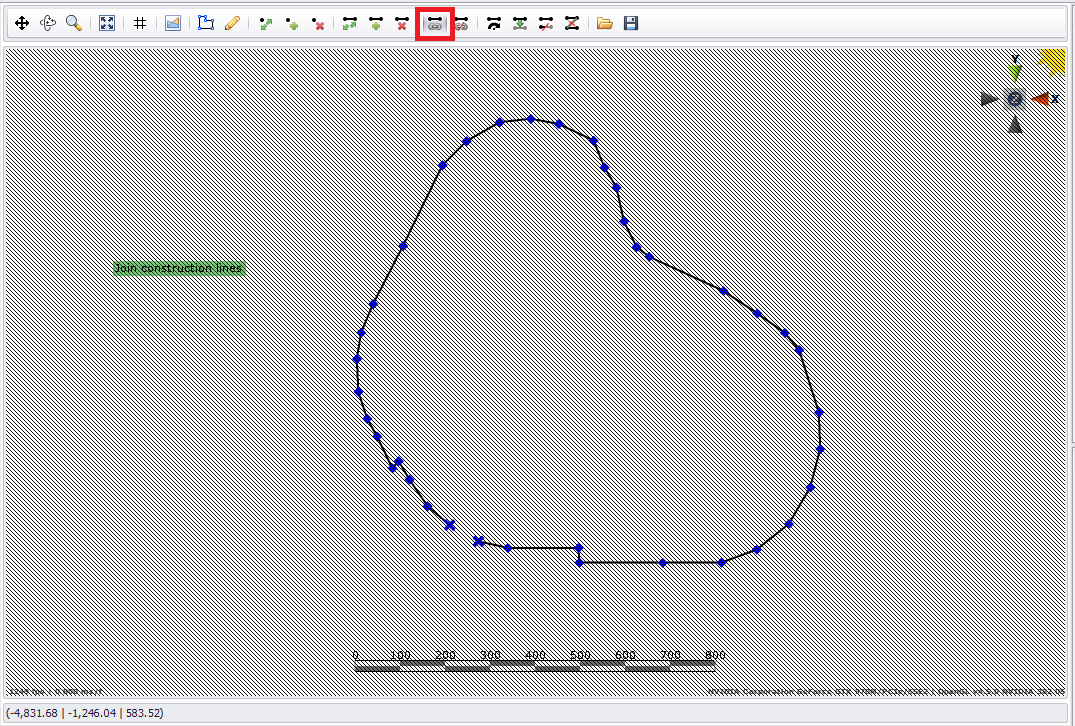
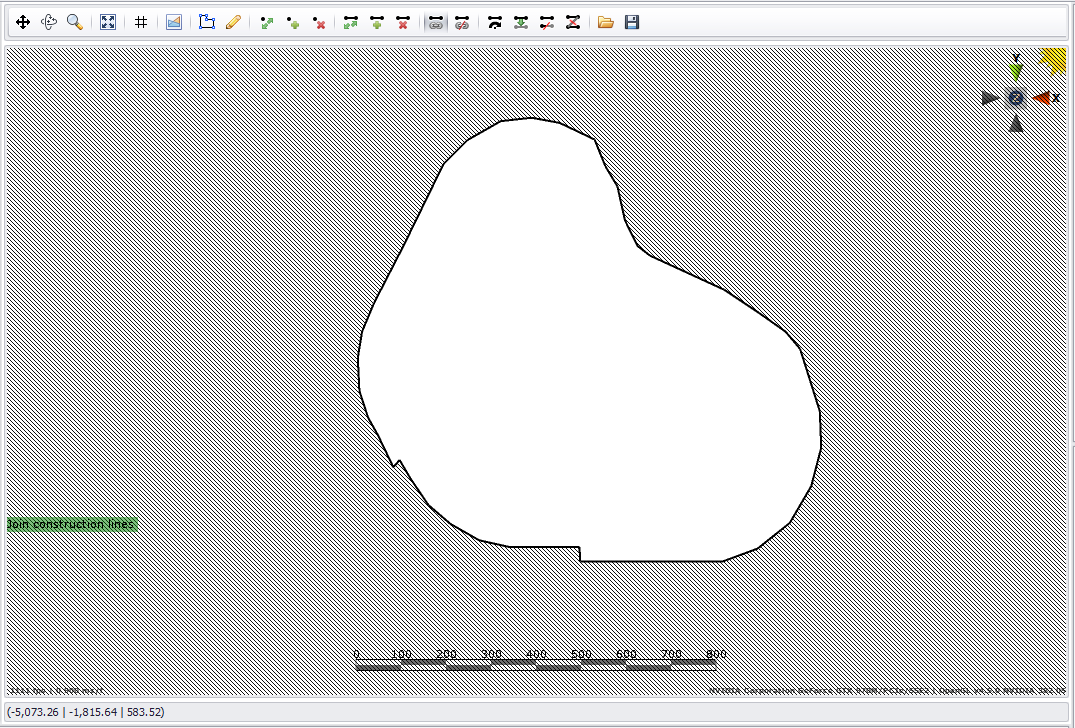
- For each area import by clicking on the folder icon and select the corresponding dxf/str/arch_d file or draw a polygon to limit the reporting area.
- If importing polygons you may need to close the polygon by using the "join" option.
- Click the play button and the model should now be set-up
- Save the the model.